安装代码标准
使用magento2官方的代码标准,如果需要在开发工具中提示代码规范的问题,需要在安装magento2后执行以下shell
1 | vendor/bin/phpcs --config-set installed_paths vendor/magento/magento-coding-standard,vendor/phpcompatibility/php-compatibility/PHPCompatibility |
PhpStorm 自动格式化的一些配置
自动对齐的问题
高版本PhpStorm Function如果有多个变量并换行,会自动两边对齐属性,不符合代码规范,需要在Settings>Editor>Code Style>PHP->Wrapping and Braces->Function declaration parameters中去掉Align when multiline的勾选框且勾选Keep ')' and '{' on one line

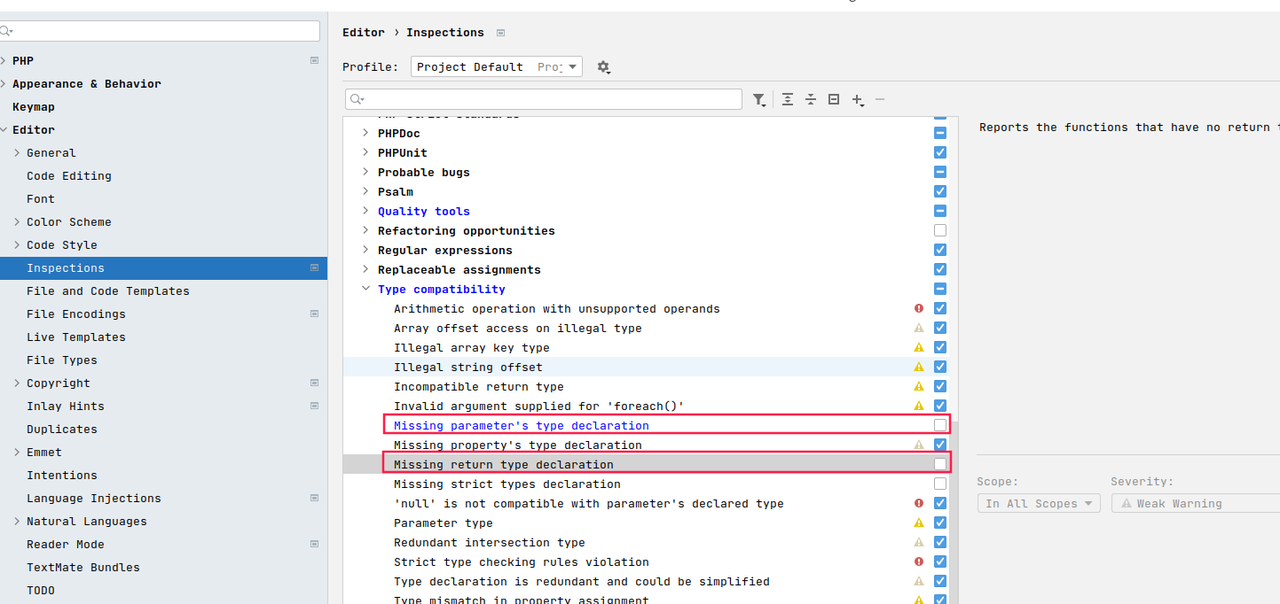
强制限定类型的提示问题
Magento2 PHP不需要做强制类型限定参照图去掉以下两个复选框。
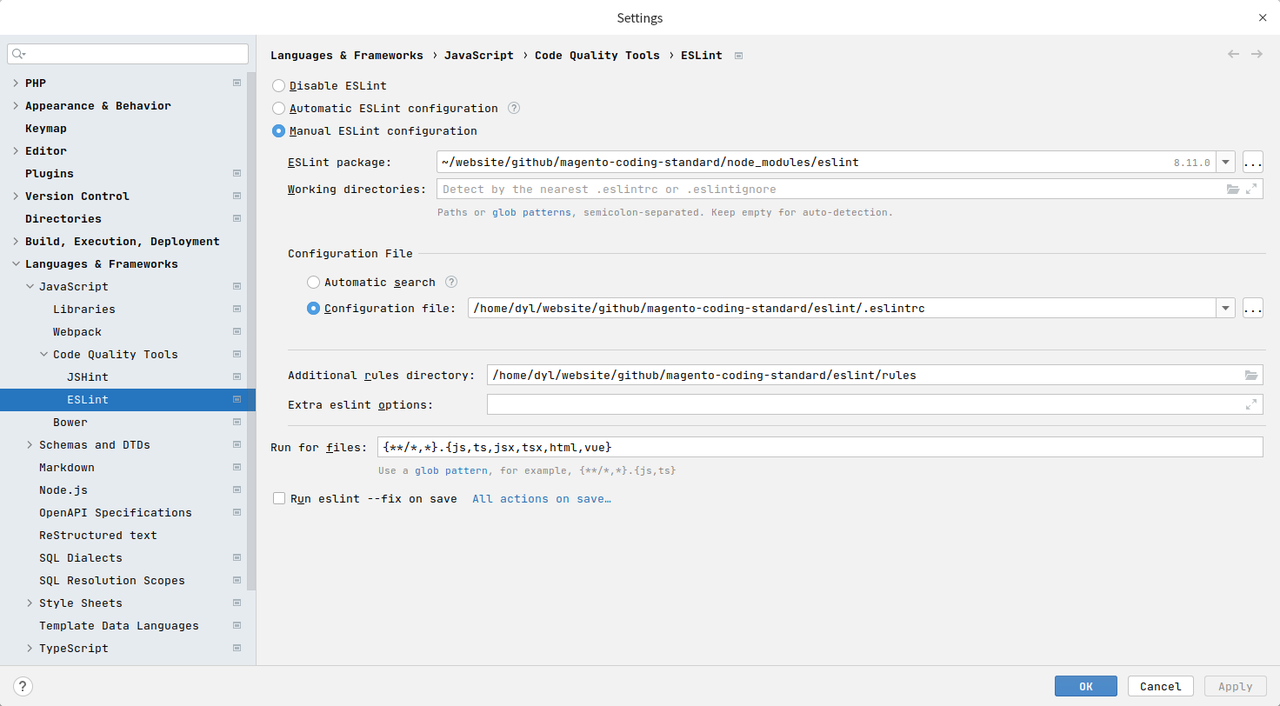
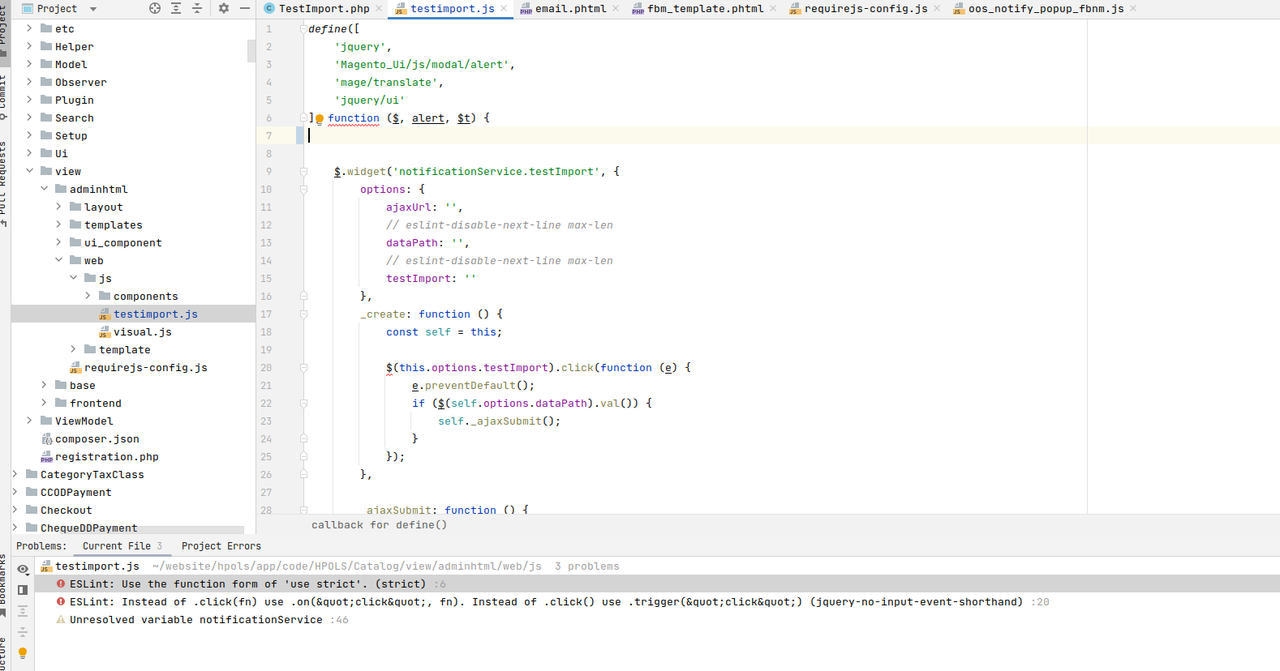
去掉js相等警告

eslint 搭法
phpcs搭法
如果最新的vendor如果没有包含phpcs等检测工具,我们可以间接使用默认的2.4.5-p1中的phpcs进行项目的检测
右键phpcs添加方法

原文链接: http://www.jiliuke.com/page/2/index.html
版权声明: 转载请注明出处.